Recreating Snake with Amazon Q CLI #BuildGamesChallenge
This June, AWS launched the Build Games Challenge, an initiative to build classic games using its AI development assistant, Amazon Q Developer CLI. I wanted to take this opportunity to see if I could really create the game without writing a single line of code, and use this as my entry for the challenge.
For this challenge, I decided to recreate the iconic Snake game 🐍.
Why Snake? Link to heading
It was the first video game I ever played on a mobile phone. I can’t remember the model, but it had a flip cover. Recreating it was exciting and seemed like the perfect challenge to try out Amazon Q CLI.
The Development Process with Amazon Q Link to heading
This is where AI came into play. I used Amazon Q to generate 100% of the game, from the initial structure to the most advanced details. This was a goal I set for myself: not to write a single line of code.
1. Setting up the environment Link to heading
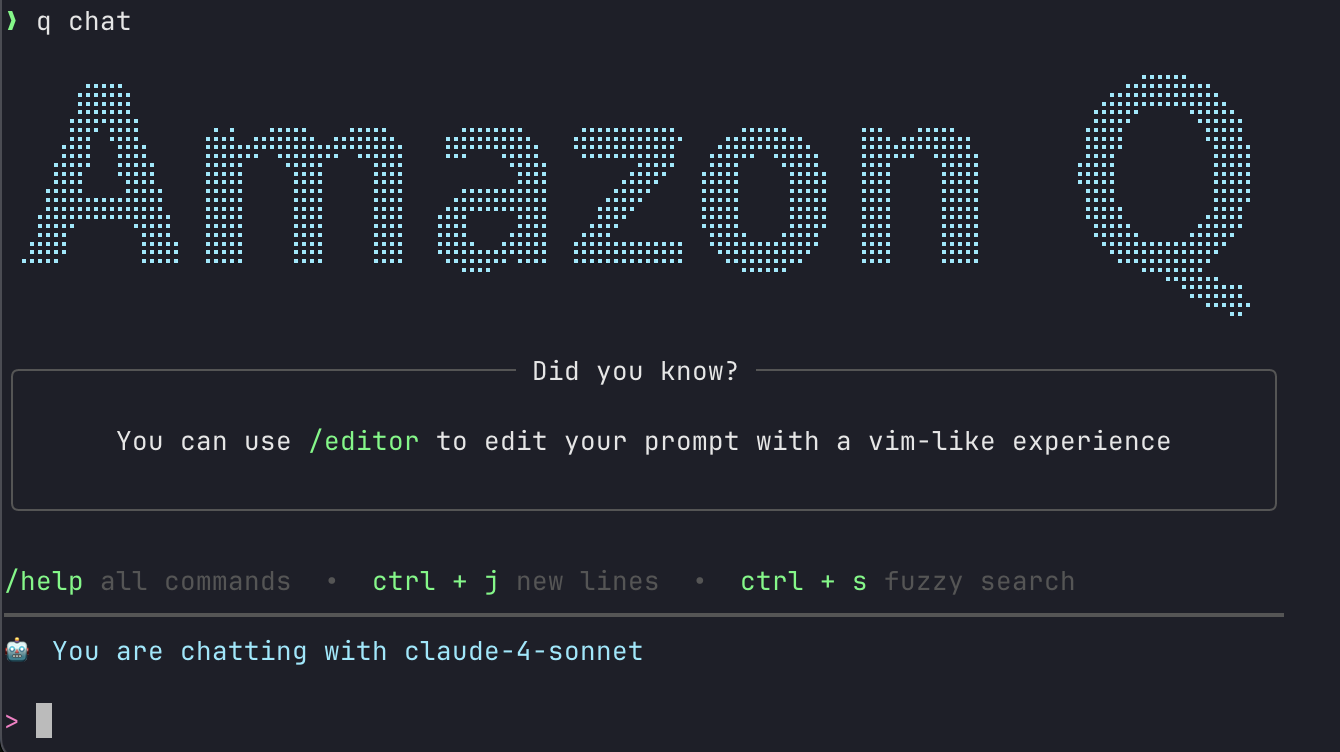
The installation was straightforward. I just had to install the Amazon Q Developer CLI and authenticate with my Builder ID:
❯ q login
✔ Select login method · Use for Free with Builder ID
Device authorized
Logged in successfully
Then, I checked that everything was working correctly with:
❯ q doctor

✔ Everything looks good!
2. First steps: the initial prompt Link to heading
The starting point was a clear and detailed prompt. The more specific the context, the better the results and the fewer iterations needed. For example, instead of simply asking “Create a Snake game in Pygame,” I prepared a requirements file with details such as:
- The language and library to use.
- The rules for growth and collision.
- The presence of levels and power-ups.
- The expected behavior for each difficulty.
You can find this file on github.
Next, I started the conversation with Q:
Before writing the prompt, I added the requirements file as context:

And finally, I asked Q to generate the game with a prompt like this:
❯ Create a Snake game in Python using Pygame. Use REQUIREMENTS.md to get the requirements and rules the game must follow. Generate the complete code and make sure it is easy to modify to add new features.
Want to edit your multi-line prompts more easily? Use
/editor
3. Useful techniques Link to heading
During development, I applied several techniques that helped me get the most out of Amazon Q CLI and speed up the game creation process:
- Iterate on gameplay: After getting a first working version, I kept requesting incremental improvements, always providing updated context (
/context add main.py). - Detailed prompts to avoid contradictions: Instead of asking “Make it harder,” I specified: “In expert mode, the initial speed should be 12 and increase by 0.5 per level.”
- Request explanations: I asked Q to comment the code or explain complex parts, which helped me understand if the logic was well implemented.
- Reuse and reload context: If something didn’t work, I could ask: “Ignore the last changes and revert to the previous state using this file as reference.”
Some prompts I used:
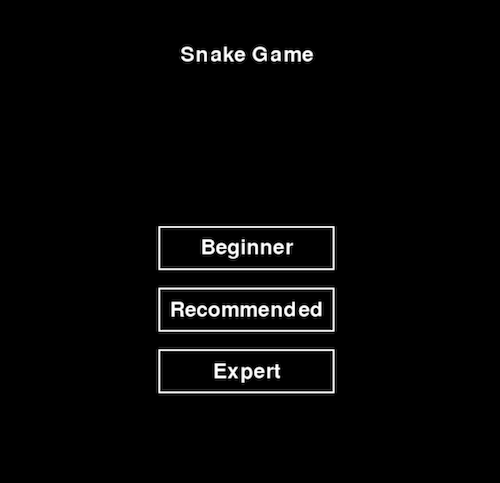
- “Add an interactive menu at the start of the game to select the difficulty (beginner, normal, expert) before starting the game. Make sure the menu is visual and easy to use with the mouse.”
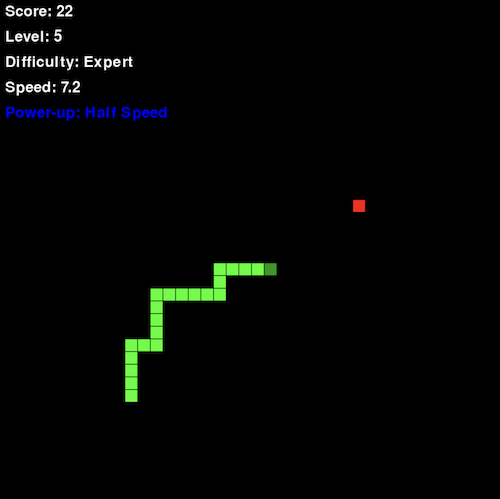
- “Implement power-ups that appear every 5 points. The power-ups should have the effects described in the REQUIREMENTS.md file. Power-ups will last until you score. Once you score, the power-up effect should be removed.”
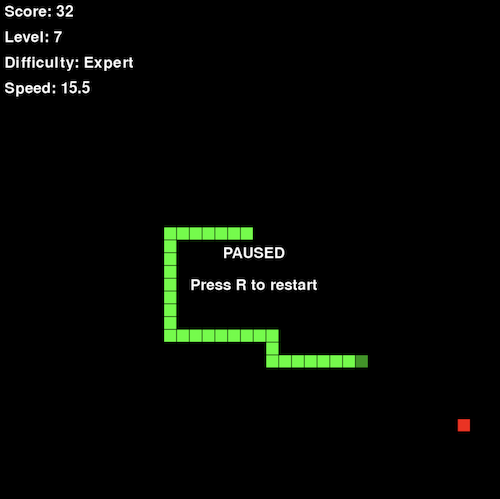
- “Make the game display the current score, level, selected difficulty, and the type of active power-up, if any. Use colors and fonts that are readable against the background.”
- “Refactor the code so it’s easy to add new types of power-ups in the future, separating the logic of each power-up into independent functions or classes.”
- “Create automated tests using the pytest library to check that the snake grows correctly when eating, that power-ups apply their effect, and that the game correctly detects game over.”
4. Adding advanced features Link to heading
Thanks to the ease of iterating with Q, I was able to add:
- Boosters and power-ups: Like double growth, control confusion, or speed changes.
- Progressive speed increase: Depending on the level and selected difficulty.
- Pause and restart: With clear on-screen messages.
Each new feature was requested with a specific prompt and, if necessary, by attaching the current code so Q could take it into account.
Tackling Classic Challenges with AI Link to heading
One of the biggest lessons was that, with an AI like Q, the classic challenges of learning a new library or language take a back seat. Now the focus is on game design, user experience, and creativity.
I was able to spend more time experimenting with new mechanics, trying different configurations, and polishing details, instead of struggling with syntax errors or documentation.
Final Result Link to heading
All the game source code is available in my GitHub repository: sbldevnet/build-games-challenge.
I may update the code from time to time to add new features.

Conclusion Link to heading
Building Snake with Amazon Q has been a fun and eye-opening experience. It showed me the potential of AI-assisted development tools to speed up the creation process, allowing me to have a working initial version in less than an hour. This gave me extra time to add boosters, the level selector, or the speed increase as you progress in the game, just to do something different.
Final recommendations:
- Invest time in preparing good prompts and requirements.
- Don’t hesitate to ask the AI for explanations or refactoring.
- Take advantage of the ability to iterate quickly and experiment.
- Have fun and let the AI surprise you!
Are you up for creating your own game?